AI Integration in Mobile Apps: A Practical Step-by-Step Walkthrough
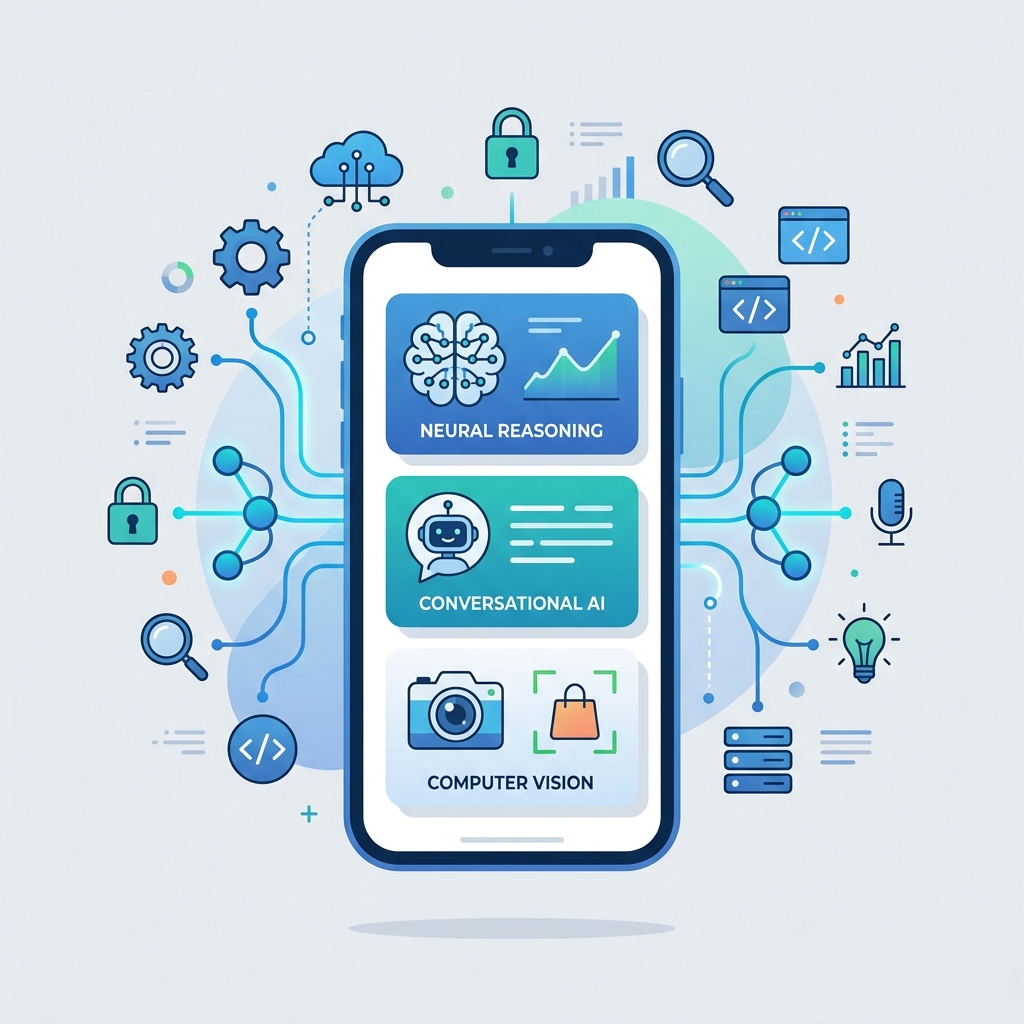
In 2026, mobile applications are no longer just interfaces for static data. They are increasingly expected to perceive, reason, and react to their environment in real time. Incorporating Artificial Intelligence into your mobile stack is no longer a futuristic luxury—it is a modern necessity.
However, developers face a critical architectural decision: Should you run your AI models in the cloud via APIs, or directly on the device?
This guide provides a comprehensive walkthrough of AI integration in mobile apps, comparing cloud vs. on-device architectures, and providing a step-by-step practical implementation for both iOS (Swift) and Android (Kotlin).
1. Cloud AI vs. On-Device AI: The Architectural Choice
Before writing code, you must understand the trade-offs of where your model executes:
| Vector | Cloud AI (API-driven) | On-Device AI (Edge) |
|---|---|---|
| Compute Power | Virtually unlimited (GPUs/TPUs) | Restricted by mobile hardware (CPU/GPU/NPU) |
| Latency | Network dependent (100ms - 2s+) | Ultra-low (sub-10ms) |
| Cost | High (recurring API/server costs) | Zero (uses user’s hardware) |
| Offline Capability | Impossible (requires active connection) | 100% functional offline |
| Privacy | Sensitive user data must leave the device | Absolute (data never leaves the device) |
2. On-Device AI Frameworks
If you choose on-device execution, several optimized runtimes are available:
- Google ML Kit: Excellent, plug-and-play SDK for common tasks (image labeling, text recognition, face detection) on both Android and iOS.
- CoreML: Apple’s highly optimized framework designed to leverage the Apple Neural Engine (ANE) for maximum speed.
- TensorFlow Lite / PyTorch Mobile: Best for deploying custom neural network architectures.
- ONNX Runtime Mobile: A cross-platform engine allowing you to run models from almost any training framework (PyTorch, TensorFlow, etc.) on device.
3. Step-by-Step Walkthrough: On-Device Image Classification
Let’s build a practical feature: On-device Image Classification, which labels objects in a captured photo without using any internet connection.
A. Android Implementation (Kotlin)
We will use Google ML Kit’s Image Labeling API. It provides a pre-trained model that runs locally on the Android device.
Step 1: Add Dependency
Add this to your app-level build.gradle.kts:
dependencies {
    implementation("com.google.mlkit:image-labeling:17.0.7")
}
Step 2: Write the Inference Logic
Here is the Kotlin code to load an image from a URI and run the classifier:
import android.content.Context
import android.net.Uri
import com.google.mlkit.vision.common.InputImage
import com.google.mlkit.vision.label.ImageLabeling
import com.google.mlkit.vision.label.defaults.ImageLabelerOptions

class ImageClassifier(private val context: Context) {

    fun classifyImage(imageUri: Uri, onSuccess: (List<String>) -> Unit, onFailure: (Exception) -> Unit) {
        try {
            // 1. Prepare the InputImage from Uri
            val image = InputImage.fromFilePath(context, imageUri)

            // 2. Initialize the default local image labeler
            val labeler = ImageLabeling.getClient(ImageLabelerOptions.DEFAULT_OPTIONS)

            // 3. Process the image
            labeler.process(image)
                .addOnSuccessListener { labels ->
                    val result = labels.map { "${it.text} (${(it.confidence * 100).toInt()}%)" }
                    onSuccess(result)
                }
                .addOnFailureListener { e ->
                    onFailure(e)
                }
        } catch (e: Exception) {
            onFailure(e)
        }
    }
}
B. iOS Implementation (Swift)
For iOS, we will use Apple’s native Vision and CoreML frameworks. Apple provides a free pre-compiled MobileNetV2 model for general image classification.
Step 1: Import Model and Frameworks
Download the MobileNetV2.mlmodel from Apple’s developer website and drag it into your Xcode project.
Step 2: Write the Inference Logic
Here is the Swift code using Vision to process the image:
import Vision
import CoreML
import UIKit

class iOSImageClassifier {

    func classifyImage(image: UIImage, completion: @escaping (Result<[String], Error>) -> Void) {
        // 1. Load the CoreML model using Vision wrapper
        guard let configuration = try? MLModelConfiguration(),
              let coreMLModel = try? MobileNetV2(configuration: configuration),
              let visionModel = try? VNCoreMLModel(for: coreMLModel) else {
            completion(.failure(NSError(domain: "Classifier", code: 1, userInfo: [NSLocalizedDescriptionKey: "Failed to load model"])))
            return
        }

        // 2. Create a Vision request
        let request = VNCoreMLRequest(model: visionModel) { request, error in
            if let error = error {
                completion(.failure(error))
                return
            }

            guard let results = request.results as? [VNClassificationObservation] else {
                completion(.success([]))
                return
            }

            // 3. Format the top classifications
            let formattedResults = results.prefix(3).map {
                "\($0.identifier) (\(Int($0.confidence * 100))%)"
            }
            completion(.success(formattedResults))
        }

        // 4. Convert UIImage to CGImage and perform the request
        guard let cgImage = image.cgImage else {
            completion(.failure(NSError(domain: "Classifier", code: 2, userInfo: [NSLocalizedDescriptionKey: "Invalid image format"])))
            return
        }

        let handler = VNImageRequestHandler(cgImage: cgImage, options: [:])
        DispatchQueue.global(qos: .userInitiated).async {
            do {
                try handler.perform([request])
            } catch {
                completion(.failure(error))
            }
        }
    }
}
4. Step-by-Step Walkthrough: Cloud AI Integration
For complex tasks that require frontier models (such as GPT-4 or Claude) or dynamic image generation, running models on-device is not feasible due to hardware limits. In these cases, we leverage Cloud AI.
[!IMPORTANT] Security Warning: Never embed API keys (like OpenAI or Anthropic keys) directly inside your mobile application code. Reverse-engineering an APK or IPA file can easily expose these credentials. Always route your requests through a secure backend proxy or API Gateway.
A. Android Implementation (Kotlin)
Here is how to make an asynchronous HTTP POST request to a secure backend endpoint using OkHttp to get a completion response from a cloud-based model:
import okhttp3.*
import okhttp3.MediaType.Companion.toMediaType
import okhttp3.RequestBody.Companion.toRequestBody
import java.io.IOException

class CloudAIService {
    private val client = OkHttpClient()
    private val mediaType = "application/json; charset=utf-8".toMediaType()

    fun generateText(prompt: String, callback: (String?) -> Unit) {
        val jsonPayload = """
            {
                "model": "gpt-4-mini",
                "messages": [{"role": "user", "content": "$prompt"}]
            }
        """.trimIndent()

        val requestBody = jsonPayload.toRequestBody(mediaType)
        val request = Request.Builder()
            .url("https://api.ghaznix.com/v1/ai/generate")
            .post(requestBody)
            .build()

        client.newCall(request).enqueue(object : Callback {
            override fun onFailure(call: Call, e: IOException) {
                callback(null)
            }

            override fun onResponse(call: Call, response: Response) {
                if (response.isSuccessful) {
                    val responseString = response.body?.string()
                    callback(responseString)
                } else {
                    callback(null)
                }
            }
        })
    }
}
B. iOS Implementation (Swift)
Below is the iOS implementation in Swift using modern async/await and URLSession to communicate with the same Cloud AI backend:
import Foundation

class CloudAIService {

    struct ChatRequest: Codable {
        let model: String
        let messages: [Message]
    }

    struct Message: Codable {
        let role: String
        let content: String
    }

    func generateText(prompt: String) async throws -> String {
        guard let url = URL(string: "https://api.ghaznix.com/v1/ai/generate") else {
            throw URLError(.badURL)
        }

        var request = URLRequest(url: url)
        request.httpMethod = "POST"
        request.setValue("application/json", forHTTPHeaderField: "Content-Type")

        let payload = ChatRequest(
            model: "gpt-4-mini",
            messages: [Message(role: "user", content: prompt)]
        )

        request.httpBody = try JSONEncoder().encode(payload)

        let (data, response) = try await URLSession.shared.data(for: request)

        guard let httpResponse = response as? HTTPURLResponse, httpResponse.statusCode == 200 else {
            throw URLError(.badServerResponse)
        }

        if let jsonString = String(data: data, encoding: .utf8) {
            return jsonString
        } else {
            throw URLError(.cannotDecodeContentData)
        }
    }
}
5. Mobile AI Optimization Strategies
When deploying models directly to user devices, optimization is vital to prevent battery drain and app bloat:
- Quantization (Post-Training): Converts model weights from 32-bit floating point (FP32) to 8-bit integers (INT8). This reduces model file size by 75% and accelerates execution on NPUs with almost no loss in accuracy.
- Model Pruning: Removes redundant neural connections that contribute minimally to accuracy.
- Hardware Delegation: Ensure your code targets hardware accelerators (e.g., using
.useNNAPI(true)on Android or enabling GPU/Neural Engine options in iOS Swift config).
6. Conclusion
Integrating AI into mobile apps is no longer a matter of simply connecting external APIs. By embracing on-device execution, developers can deliver private, zero-latency, and highly responsive user experiences.